Sexy, sexy custom 404 pages with Apache
What is this 404 page you speak of?
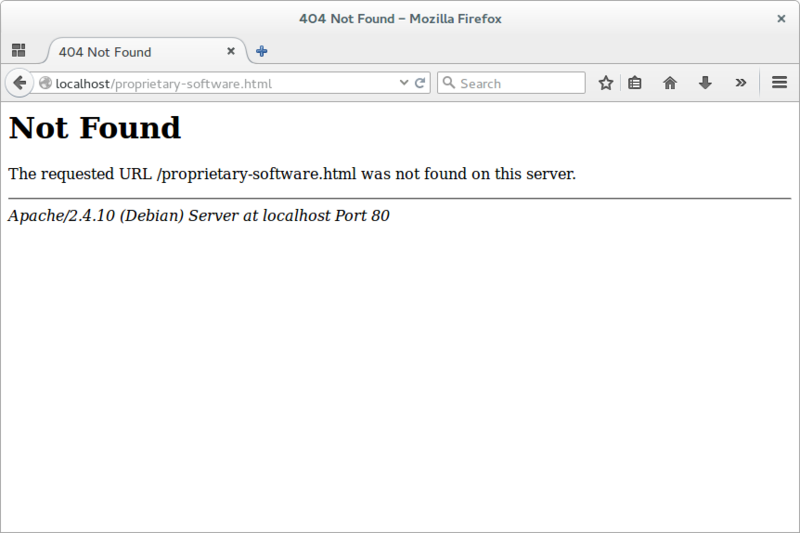
So, you just put together a beautiful webpage when lo and behold, you mistype the url and get a terrifying looking message like this:

It’s like the creators of this message were trying to destroy your carefully crafted aesthetic experience, and maybe give your visitor a cold shiver down their spine from this brutally ugly and utterly unhelpful message.
Save me!
Fear not though! This can be fixed with less effort than you might imagine. Unfortunately, most tutorials that I came across seem to be meant for Wordpress sites and/or tell you to use the .htaccess file, something which the folks who built Apache very explicitly tell you not to do on their site with:
You should avoid using .htaccess files completely if you have access to httpd main server config file. Using .htaccess files slows down your Apache http server. Any directive that you can include in a .htaccess file is better set in a Directory block, as it will have the same effect with better performance. The Apache Team
So, how did you manage it?
The good thing is that this is pretty easy to do right using virtualhosts and just a little bit of tinkering (we are running this on Linux after all).
Create your 404 page
First of all, create a beautiful 404 page named 404.html and make sure that it is in the root web directory of your site.
Some inspiration
Now, if you are lacking inspiration for your page, the magical interwebs will most certainly come to your rescue if you just search for custom 404 pages. Alternatively, you can check out mine here .
And onto Apache
This part is actually quite simple. Just open the virtualhost file of your site with: sudo nano /etc/apache2/sites-available/example.com.conf (example.com being the name of your site’s virtualhost file) and add the line:
ErrorDocument 404 /404.html under DocumentRoot.
Now, if you used certbot to setup https, you will need to repeat the same process with the /etc/apache2/sites-available/example.com.conf-le-ssl.conf file it created.
Tip If you followed my previous tutorial about setting up your server and building your site with Jekyll, then just modify as needed your theme’s 404 file (probably names 404.md) and then follow along with the virtualhost configuration.
And Voila!
Done! Your visitors will now be graced with a beautiful custom 404 page.
Thank you for dropping by, and
So long, and thanks for all of the fish!